

Step-by-Step Solar Grid Setup for Tiny Homes: Solar Solutions for Tiny Homes
- Tikigirl2030
- Mar 9
- 4 min read
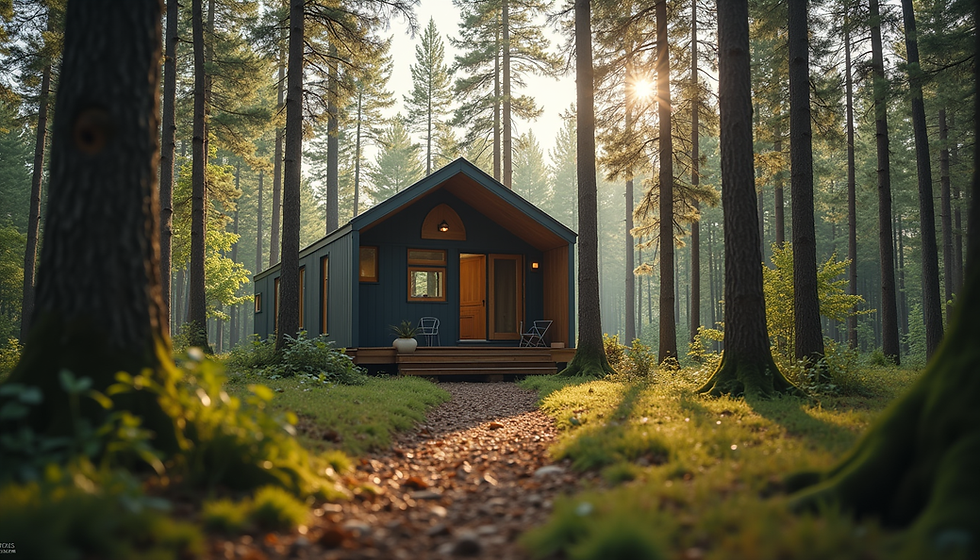
Setting up a solar grid for a tiny home is a smart way to embrace sustainable living. It gives us energy independence and lowers our carbon footprint. Plus, it fits perfectly with the tiny home lifestyle, which values simplicity and efficiency. In this post, we’ll walk through the steps to create a reliable solar power system for your tiny home. We’ll cover everything from planning to installation, so you can feel confident about your solar journey.
Understanding Solar Solutions for Tiny Homes
Solar power is a great fit for tiny homes because these homes use less energy than traditional houses. This means we can install a smaller, more affordable solar system that still meets our needs. When we talk about solar solutions for tiny homes, we mean a setup that includes solar panels, a charge controller, batteries, and an inverter. Each part plays a key role:
Solar panels capture sunlight and turn it into electricity.
Charge controller regulates the power going into the batteries.
Batteries store energy for use when the sun isn’t shining.
Inverter converts stored energy into usable AC power for our appliances.
Before buying any equipment, it’s important to understand your energy needs. Think about what devices you’ll use daily and how much power they require. This helps us size the system correctly and avoid overspending.

Planning Your Tiny Home Solar Grid Setup
Planning is the foundation of a successful solar grid. Here’s how we start:
Calculate Your Energy Usage
List all the electrical devices you plan to use. Include lights, fridge, water pump, laptop, and any other essentials. Check their wattage and estimate how many hours per day you’ll use each. Multiply wattage by hours to get daily watt-hours.
Determine Solar Panel Size
Based on your daily energy use, calculate how many solar panels you need. Panels are rated by watts, usually between 100 and 400 watts each. Divide your daily watt-hours by the average sun hours per day in your area to find the total wattage needed.
Choose Battery Capacity
Batteries store energy for nighttime or cloudy days. We want enough capacity to cover at least one full day without sun. Battery capacity is measured in amp-hours (Ah). Convert your daily watt-hours to amp-hours by dividing by your battery voltage (usually 12V or 24V).
Select a Charge Controller
The charge controller protects your batteries from overcharging. Choose one that matches your solar panel voltage and current output.
Pick an Inverter
The inverter converts DC power from batteries to AC power for your appliances. Make sure it can handle the total wattage of your devices running at the same time.
Plan the Wiring and Mounting
Decide where to mount your panels for maximum sun exposure. Plan wiring routes from panels to charge controller, batteries, and inverter. Use proper gauge wires to handle the current safely.
This planning phase sets us up for a smooth installation and reliable system.
How many solar panels do you need to run a tiny house?
The number of solar panels depends on your energy needs and location. For example, if your tiny home uses about 1,000 watt-hours per day and you get 5 hours of good sunlight daily, you need:
```
1000 watt-hours / 5 hours = 200 watts of solar panels
```
Since panels come in standard sizes, you might choose one 200-watt panel or two 100-watt panels. If you use more energy, add more panels accordingly.
Keep in mind that weather and shading affect panel output. It’s smart to add a bit of extra capacity to cover cloudy days or future energy needs.
Installing Your Solar Grid Step-by-Step
Now that we have a plan, let’s install the system. Follow these steps carefully:
Mount the Solar Panels
Secure panels on your roof or a ground mount facing south (in the northern hemisphere) for best sun exposure. Use brackets and hardware designed for your panel type.
Connect Panels to Charge Controller
Wire the panels in series or parallel depending on your system voltage. Connect the wires to the charge controller input terminals.
Wire the Batteries
Connect batteries in series or parallel to match your system voltage and capacity. Use battery cables with proper insulation and connectors.
Connect Charge Controller to Batteries
Attach the charge controller output to the battery bank. This connection manages charging safely.
Install the Inverter
Connect the inverter to the battery bank. Make sure the inverter is grounded properly.
Wire the Inverter to Your Tiny Home Electrical System
Connect the inverter output to your home’s electrical panel or directly to outlets. Use circuit breakers for safety.
Test the System
Turn on the system and check voltages and currents at each stage. Make sure batteries are charging and appliances run smoothly.
Monitor and Maintain
Regularly check connections, clean panels, and monitor battery health to keep your system running well.

Tips for Maximizing Your Solar Power Efficiency
To get the most from your solar setup, keep these tips in mind:
Use Energy-Efficient Appliances
Choose LED lights, low-power fridges, and efficient water pumps to reduce energy use.
Optimize Panel Placement
Avoid shade from trees or buildings. Clean panels regularly to remove dust and debris.
Manage Energy Use
Run high-power devices during the day when solar panels produce energy. Save battery power for night use.
Expand Gradually
Start with a basic system and add panels or batteries as your needs grow.
Use a Battery Monitor
Track battery charge levels to avoid deep discharges that shorten battery life.
Embracing Sustainable Living with Solar Power
Setting up a solar grid for your tiny home is more than just installing equipment. It’s about embracing a lifestyle that values simplicity, independence, and care for the planet. With a well-planned and installed system, you can enjoy reliable power wherever you go.
If you want to explore more about a tiny home solar grid setup, check out resources and custom solutions that fit your unique needs. Whether you live full-time in your tiny home or use it as a travel trailer, solar power gives you freedom and peace of mind.
By choosing solar, we take a step toward a cleaner future. It’s a practical choice that supports our values and lifestyle. Let’s make the most of the sun and enjoy the benefits of sustainable energy every day.


Comments